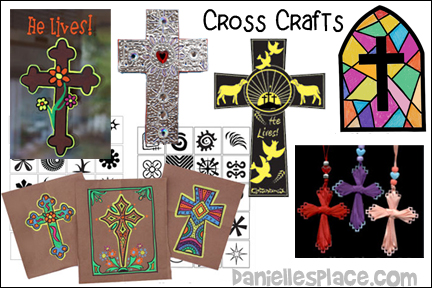
Cross Crafts for Sunday School
Easy Cross Crafts for Children Can Make
Cardboard and Yarn Cross Craft

What you will need:
Cardboard
Scissors
Glue
Paint Marker Pens or Acrylic Paint
Decorative Items such as Buttons, Beans, Flowers, etc.
Watch a "View it and Do it! Video to see how to make this craft. For a larger view follow the link on the video to go to Youtube.com.
How to Make the Cross Craft:
1. Cut two cardboard strips 3/4" by 6" long and two 3/4" by 4 1/2" long.
2. Glue the strips together to form a frame.
3. Cut yarn into 4-yard and 3-yard pieces.
4. Paint or decorate the frame with paint markers or acrylic paint.
5. Wind the 4-yard piece of yarn around the middle of the long side of the frame. Wind the 3-yard piece around the side to form a cross shape.
6. Tie the cross shape together where the yarn crosses with red yarn.
7. Have your children write a Bible verse around the edge of the frame.
©2016, Digital by Design, Inc. - *See Copyright Information
Snowflake Cross Craft for Kids
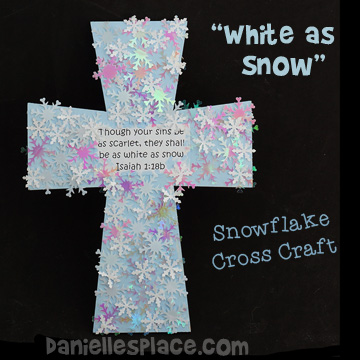
"Though your sins be as scarlet, they shall be as white as snow." Isaiah 1:18b
This cross makes a great Christmas tree decoration.
What you will need:
8" Wooden Cross Shapes - This one was purchased at Hobby Lobby
5/8 Snowflake Punch with White Paper or Shiny Paper
White Glue
Light Blue Acrylic Paint
String or Ribbon
How to Make the Snowflake Cross Craft:
1. Paint the cross with acrylic paint and let it dry.
2. Make snowflakes using a snowflake paper punch and white paper or shiny paper.
3. Print out the Bible verse, "Though your sins be as scarlet, they shall be as white as snow." Isaiah 1:18b to fit your cross, and glue it to the center of the cross.
4. Glue snowflake confetti and paper snowflakes to the cross.
5. To finish glue string or ribbon to the back of the cross to use as as a hanger.
©2015, Digital by Design, Inc. - *See Copyright Information
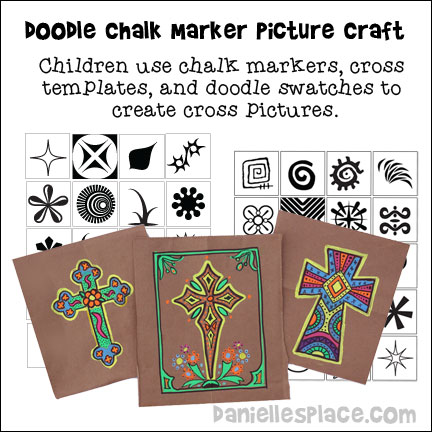
Chalk Marker Doodle Cross Pictures
What you will need:
Liquid Chalk Markers - These markers were designed for white boards and non-porus surfaces, but they also work great on colored papers. They produce very bright opaque colors.
Construction Paper or Paper from Brown Grocery Bags, or Colored Card Stock
Scissors
How to Make the Cross Craft Pictures:
1. Print out the cross patterns onto card stock and cut them out. Use them as templates to draw crosses onto paper bag paper. Or you can print out the patterns onto construction paper or colored card stock and cut the crosses apart.
2. Print out the seven pages of doodle samples, background swatches, corner swatches, and design swatches.
3. If you are using the cross templates, have your children place them on their paper and trace around them with a marker or pencil and then use liquid chalk markers to color them in and add doodle designs.
4. Have them use the design swatches to help them add doodles to their cross shapes.
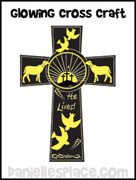
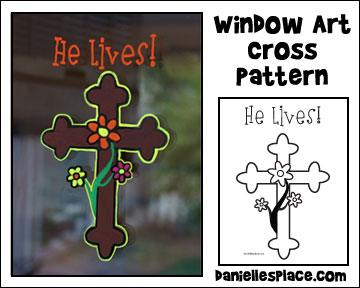
You can also use the cross patterns to decorate your windows. Three different phrase patterns are included: He Lives!, Forgiven, and Praise Him!
Print out the cross pattern, tape it to the outside of the window, and trace over the lines from the inside of the window. If you would like the words to be read from the outside tape the pattern backwards.
This pattern is included with doodle cross patterns above.
This above craft patterns are available to members or as an instant download.
Member's 
Instant Download Printable Patterns - 
Includes four cross template patterns (two different sizes, and seven pages of sample designs, corners, and background swatches for doodling, and the Cross Window Art Design Pattern - 15 Pages
©2015, Digital by Design, Inc. - *See Copyright Information
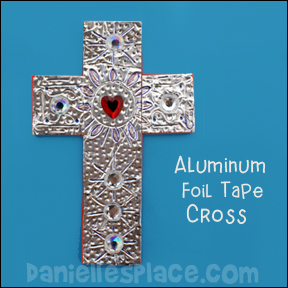
Aluminum Foil Tape Cross Craft for Sunday School
Foil tape crosses make great VBS crafts. Have your children write their names with a ball point pen on the cross to remind them that Jesus died for them.
What you will need:
Utensils to Engrave the Tape Such as a Ballpoint Pen, Straws, the End of a Paintbrush, and the Tines of a Fork
Paper Towels
How to Make the Aluminum Foil Tape Cross:
1. Print out the cross template onto card stock and use it to trace cross shapes onto craft foam. Cut out the cross shapes.
Member's ![]()
Free Printable Template
2. Cover the top of the fun foam cross with the foil tape, pressing it down and smoothing it out.
To remove the backing from the tape without making lines or dent in it, carefully pull up the backing at the top of the piece of tape. Lay the piece of tape flat on a table, silver side down. Place your fingers on the sticky part of the tape holding it down to the table while pulling the backing away from the tape.
3. Press the tape onto the foam shapes, smoothing it down on the top and sides.
4. Have your children press utensils, pens, pen caps, toy parts, etc. down into the tape to make shapes and designs.
5. Older children may want to use Sharpie markers to add color to their crosses. Instruct them to use a very gentle touch with the side of the tip of the marker to color the crosses so the don't indent the foil.
6. Use tacky glue to add gems. Glue the gems in place and then press them down into the foam.
Watch a video on Youtube on how to make this craft:
Copyright 2010, Digital by Design, Inc -See Copyright Information
Plastic Canvas Cross Bible Craft

What you will need:
Seven Mesh Plastic Canvas
6mm Ribbon to Match
Pony Beads to Match.
How to Make Plastic Canvas Cross:
1. Print out the directions.
2. Print out the diagram to the directions.
Member's ![]()
Free Digital Download ![]()
Copyright 2006, Digital by Design, Inc -See Copyright Information
Paper Mache and Wire Cross Craft for Kids
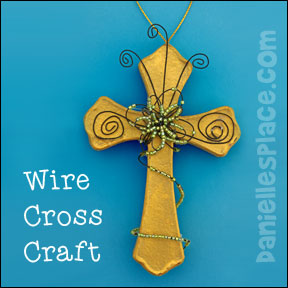
What you will need:
Paper Mache Cross or Wooden Cross
Wire that is Thin Enough to Go Through Small Beads
Small Beads
Acrylic Paint
How to Make Paper Mache and Wire Cross:
1. Paint the paper mache cross with acrylic paint and let it dry.
2. Decide on a design and then wrap wire around your cross and form it into shapes such as flowers, stars, swirls, etc. As you wrap add beads, buttons, and other decorative items to the wire.
Designed by Danielle Warvel
Stained Glass Window Cross
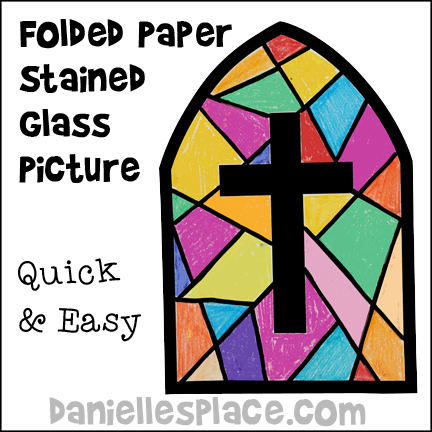
Children of all ages will enjoy making this craft.
What you will need:
White Paper
Crayons or Markers (Highlighter markers work very well)
How to Make the Folded Paper Craft:
1. Have your children draw window shapes with a cross shape in the middle as shown in the picture. A pattern for this craft is available to members.
Member's ![]()
2. Show your children how to fold up the window pattern at different angles making sure to crease the folds each time they make a new fold. They can unfold and then fold again at a different angle or make more than one fold before unfolding.
3. Tell your children to keep folding and unfolding their paper until they can see that the shapes made by the folds are about the same size.
4. Have your children unfold their papers and trace the lines they created with a dark marker. Then have them color in the different shapes with markers or crayons.
Copyright 2015, Digital by Design, Inc - See Copyright Information
Cross Crafts on Other Pages