Alaska Crafts and Activities for Kids
How to Make Crafts and Activities Relating to Alaska
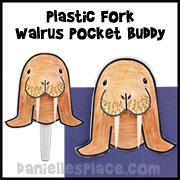
Inuit (Eskimo) Coloring and Activity Sheet - What Do Eskimo's Wear?

Some Inuits still dress in fur parkas that hang down to their knees and sealskin boots called kamiks or mukluks. Children can color a picture of an Inuit wearing a parka and mukluks, and glue cotton around the hood of the parka and arms for fur. They can also add yarn and pompoms to make the tie that keeps the hood tight.
The pattern for this activity sheet is available to members and as an instant download.
Member's 
Instant Digital Download -
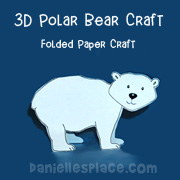
Snow Bear - A great book to go along with this craft is Jean Craighead George's book "Snow Bear" in which a little girl plays with a polar bear cub. This illustrations are so adorable your children will wish they can play with the little bear too.
©2000, Digital by Design, Inc. - See Copyright Information
Build Your Own Inuksuk
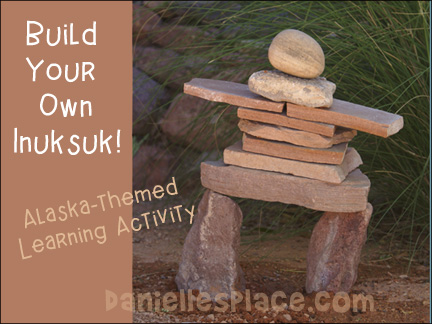
Inuksuk means "a thing that can act in the place of a human being". They where used by Inuits to communicate many things such as the best way to travel, best fishing areas, warn of dangerous places, to show where food is stored, to remember people or events, and to help hunt caribou.
"The Inuksuk Book" by Mary Wallace explains how the Inuit used these inuksuit (plural) to help them in their every day lives. At the end of the book it explains how to make your own inuksuk and has examples of the Inuktitut alphabet and pronunciations of the Inuit words used in the book.
What you will need:
Stones that are Flat on at Least Two Sides about Fist-sized or a Little Larger
A Good Location
Gloves will Help
How to Make an Inuksuk:
1. First read the book "The Inuksuk Book". This book explains what inukuit are and how they are used by the Inuit.
2. Decide what type of inuksuk you would like to build and collect rocks that you think might work in your structure.
3. Start with the largest rocks and balance the smaller ones on top. You can use tiny rocks as wedges to help balance the rocks.
©2000, Digital by Design, Inc. - See Copyright Information
Inuksuk on Paper
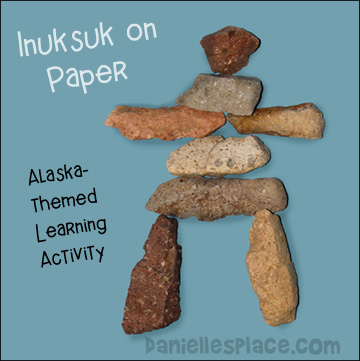
This Inuksuk is much easier to make than the one above. Children just glue small stones onto a piece of paper.
What you will need: Cardstock, Small Stones no Bigger than Thumb Size, and Glue
How to Make:
Have your children collect small flat stones no bigger than their thumbs. Then have them experiment with different placements of the stones to see what designs they can come up with. When they have come up with a design they like, have them glue it to a piece of cardstock with tacky glue.
©2000, Digital by Design, Inc. - See Copyright Information
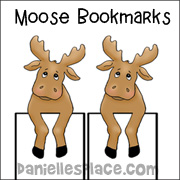
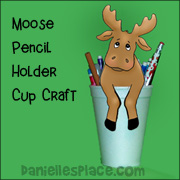
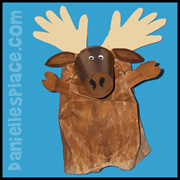
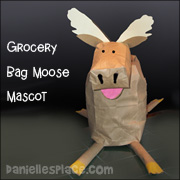
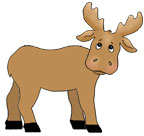
Moose Crafts for Kids
You will find lots of moose crafts on the Moose Crafts Page.
©2000, Digital by Design, Inc. - See Copyright Information
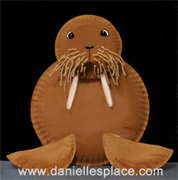
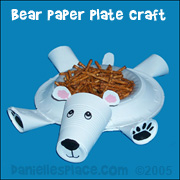
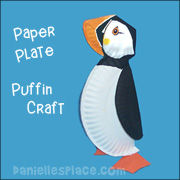
Arctic Animal Crafts
You will find polar bear crafts and puffin crafts on the Arctic Animal Craft Page.
©2000, Digital by Design, Inc. - See Copyright Information
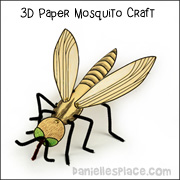
Flyswatter Craft
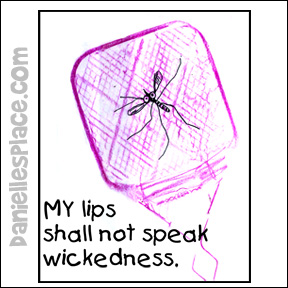
Place a clean flyswatter under a piece of paper and rub the paper with the side of a crayon that has had the paper removed. An image of the flyswatter will appear. Draw a squashed mosquito on the flyswatter.
©2000, Digital by Design, Inc. - See Copyright Information
Sky Tossing (Blanket Toss)
One person sits in the middle of a large animal skin (blanket) the rest of the people stand around the edge of the blanket holding onto the edge. On the word "pull" everyone holding the blanket pulls back on the blanket lifting the blanket so that the person in the middle pops up. You can find a video of a blanket toss on this page: https://www.youtube.com/watch?v=IjhyFFG3_9Y and here https://www.youtube.com/watch?v=10bRW7Pigm0
Children will enjoy playing this game using their stuffed animals and a blanket.


