Bible Crafts and Activities for Sunday School - D - E
How to Make Sunday School Crafts and Games for Children - D - E
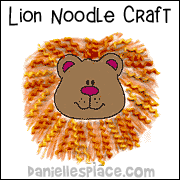
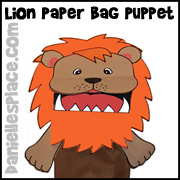
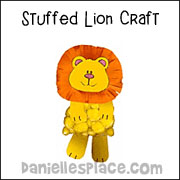
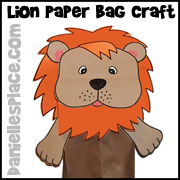
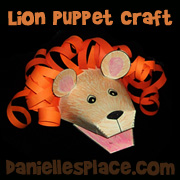
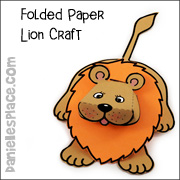
Daniel and the Lions Crafts and Activities
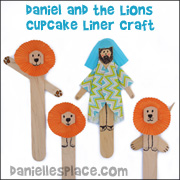


“God Saved Daniel From the Lions” Bible Lesson for Children
In this Lesson children learn that they can trust God to help them. God will help them be strong and stand firm against what is wrong when they ask God for help. (Available to members only.)
"In the News" - Bible Lesson about Daniel for Older Children
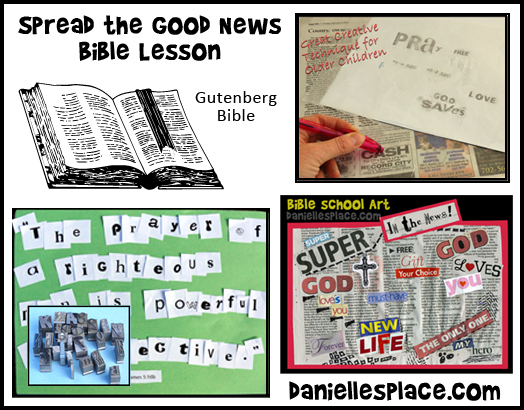
(This activity goes along with the Daniel in the Lion's Den Sunday School lesson for Older Children.)
©2014, Digital by Design, Inc. - See Copyright Information
Disciples
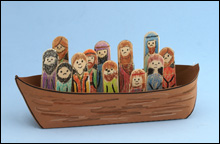

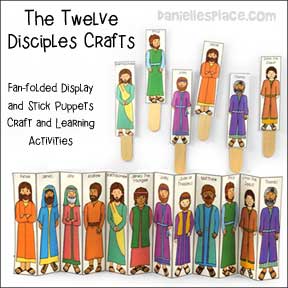
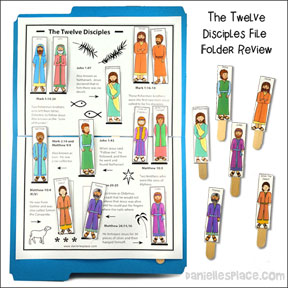
Go to the Disciples Crafts Page for directions and patterns to these crafts.
DOG Lessons
Depend On God Crafts and Activities
Use the craft and activities from "Beware of the Dogs" or the Watchdog Lessons on the Resource Room.
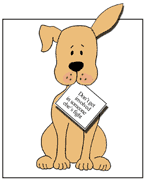
1. Make a Dog Picture in which on of the ears move and the dog is holding a paper with the words, "Depend on God", or an appropriate Bible verse.
2. Make "Stand Up Dogs" - This is a very simple craft. You just print out the pattern, color and fold in half. There are four different types of dogs available.
3. Make a Faithful Dog - Use this dog for a Bible verse review game. Print one word of the verse on each bone. Instruct your children to try and find the first word of the verse. If they find the correct word, they can feed the dog. Keep playing until all the bones are gone.
4. Play a Game with Paw Prints - Before class cut out some large paw prints. Make enough to have one for each word of the Bible verse. Write one word of the verse on each print. Tape the paw prints in order of the verse around the room. Make it go around in circles, over and under chairs, around tables, and cross paths. See if the children can follow the paw prints to spell out the Bible verse. You may want to have a doggy treat at the end of the path. If you have younger children, write the verse on the board so they can look at it if they have problems.
5. Sing a Song to the Tune of "How Much is That Doggie in the Window" written by Teri Couture
How much did it cost to buy my pardon
To wash and to sanctify me?
How much did it cost my Lord and Saviour?
Just look at the cross and you'll see.
I must give all praise and all thanksgiving
To the great King who rescued my soul
I'll love Him forever and forever
Now my body and spirit are whole.
©2000, Digital by Design, Inc. - See Copyright Information
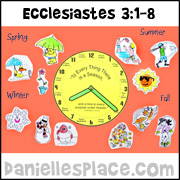
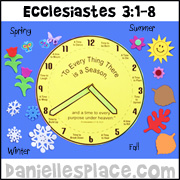
Ecclesiastes Sunday School Lessons - Crafts and Activities
Go to the Mary and Martha Page for Crafts and Activities to go with this lesson.
©2005, Digital by Design - See Copyright Information
Just a quick note to say thank you for your site. I'm looking for meaningful crafts to do at my daughter's Christmas/birthday party coming up soon and really appreciate the ideas. I've also just started running a large children's church program without a lot of materials, so also appreciate ideas for that. Many thanks for your very helpful ministry! Jan Fischer Bachman
I just wanted to take the time to let you know how much I have enjoyed you site!!! Thank you and may God bless you this holiday season! Lori G.