Joshua Bible Crafts and Activities for Sunday School
How to Make Bible Crafts and Activities Relating to Joshua
"Can Do Kids " Bible Lesson on The Resource Room
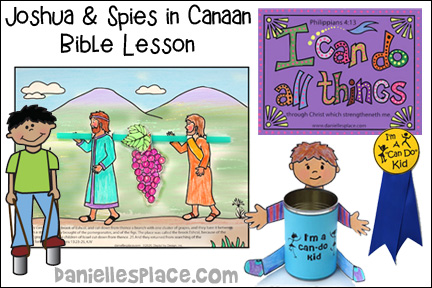
Joshua trusted God; he believed that he could do anything with God's help. Your children will learn that God wants them to be like Joshua, to be "Can-do kids." Go to the Joshua Bible Crafts and Games - "Can-do Kids" Bible Lesson
Obey Your Leaders - Joshua and the Israelites Cross the Jordan River
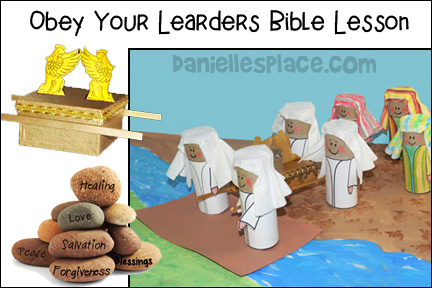
Children learn about the importance of obeying their leaders through an interactive Bible lesson, hand-on leaning activites, creative crafts and fun review games. See the
Joshua Bible Crafts - Obey Your Leaders page for more information.
"Joshua and the Battle of Jericho" Bible Lesson
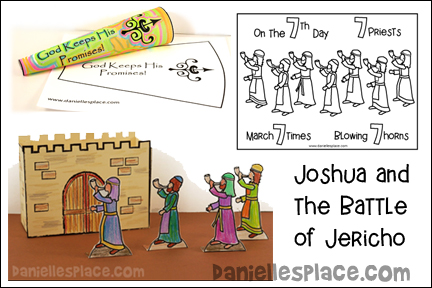
In this lesson children learn that God is all powerful and that he keeps his promises. A complete lesson with early arrival activities, crafts, Bible verse review games, etc. is available to members of Danielle's Place or The Resource Room. Following are some crafts and activities from the lesson. Go to Joshua and the Battle of Jericho Bible Crafts Page for more information.
Joshua 24:1 "As for Me and My House, We Will Serve the Lord."
Work on a Memory Verse Coloring Sheet
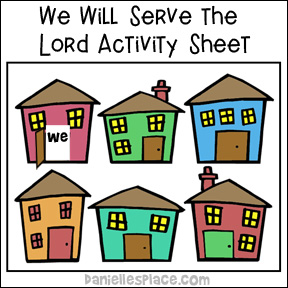
Children open the doors of the houses to review the Bible verse.
Member's ![]()
You can also use the house patterns for a memory verse review game.
Print out the house patterns, cut them out, and use it to review the memory verse the following week. Ask the children to put the houses in order to spell out the verse.
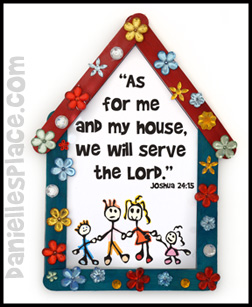
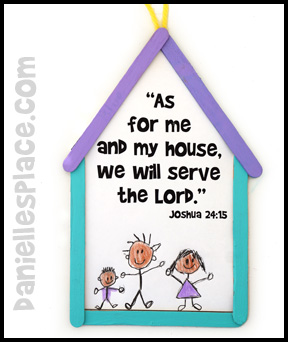
"We Will Serve the Lord" Wall Hanging Craft
Printer Paper
Markers, Pencils, Crayons
Jewels, Sequins, Buttons, and other Decorative Items
How to Make the Wall Hanging:
1. Before class glue craft sticks together to resemble a house using a low temp. glue gun. Place the craft stick house on a piece of paper and trace around the outside. Cut out the pattern.
(Printable Patterns with the Bible verse for both the jumbo craft stick house and the regular-sized craft sticks as shown in the picture are available to members of Danielle's Place. You can cut out the patterns or just have your children glue the craft sticks to the pattern.
Member's ![]()
2. In class have your children write the Bible verse on the house and draw pictures of their families. Then have them glue crafts stick around the outside to made a house frame.
3. You can also have them glue on buttons, sequins, fun foam shapes, and other decorative items.
©2006 and 2013, Digital by Design - See Copyright Information
"We Will Serve the Lord" Tactile Picture Craft

What you will need:
4-1/2 inch Colored Craft Sticks
Or Wood Craft Sticks and Crayons
Green Paper
Cotton Balls
Crayons, Water Color Paint, or Colored Pencils
Aleenes Original Tacky Glue, 16-Ounce
Scissors
How to Make the Tactile Picture Craft:
1. Have your children glue craft sticks on a piece of paper to form a house, draw in the windows and door.
Member's ![]()
2. Draw cloud shapes in the sky and glue cotton balls on the clouds.
3. Run a piece of green paper through a paper shredder and use the shredded paper for grass. If you don't have a paper shredder, cut strips of paper about one-inch wide and cut slits all the way down the length of the paper to make grass. Glue the paper across the bottom of the picture.
©2013, Digital by Design - See Copyright Information
Play "We Will Serve the Lord" Build a House Craft Stick Game
What you will need: Craft Sticks, Markers, Tin Can, and Paper
How to make:
1. Before class write the words from the memory verse (one word per stick)on one end of each craft stick. Make enough crafts sticks so that you have at least one whole memory verse per child. You can also put the Bible verse reference on one stick. If you have children who are just learning to read, color code the words. For example, make all the "we" words red and all the "Lord" words green.
2. Print out some of the memory verse review house patterns. Color the pattern to match the color of the words you put on the craft sticks. Place the crafts sticks in a tin can so that the words are at the bottom of the can.
3. To play have the children sit in a circle in groups of five. Make sure you have enough crafts stick for the whole group. Show the children how to make a house shape with the sticks using just one of each word so that it spells out the memory verse. See the wall hanging example above. You can also use the Bible reference and put it across the middle of the house to form the bottom of the roof.
4. Start the game by having the child on your right pick a stick. If he does not already have that stick, he can place it on the floor in front of him. Keep going around the circle. If a child picks a stick that he already has, he puts it back in the can and tries again next turn. Keep going until someone completes the whole verse.
5. As the children pick words tell them to read the words on their sticks and tell them which words are missing to complete their verse or see if they can figure it out. By the time the game is over you and they will have said the verse at least ten times.
©2006, Digital by Design - See Copyright Information


