F - Bible Crafts For Children's Ministry
How to Make Crafts and Bible Games for Your Sunday School
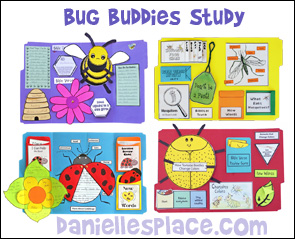
Hide Your Words in My Heart Chain
What you will need:
Different Colors of Construction Paper or Typing Paper
Scissors
Stapler
Markers
How to make:
Member's ![]()
1. Place five sheets for different colors of paper together, one on top the other, and place the heart link pattern on top. Staple the pattern on top of the sheets of paper placing the staples on four sides of the paper and in the center. This will keep the patterns from moving when you cut.
2. Cut out the shapes and then cut the Y-shaped lines in the center of the links by folding the handle of the hearts in half and cutting from the fold down to the heart. Unfold, and then cut the two top lines to make the Y shape. Cut through the paper, unfold, and finish cutting the line. Make sixteen heart links for each child.
3. In class have your children write one word of the verse on each of their links and then create a chain of hearts that spells out the verse. Slide one of the links behind and through the slit on the new link, turn it, and pull it up against the top of the link.
©2007, Digital by Design, Inc. - *See Copyright Information
3. Psalm139:23-34 Bible Verse Review Game
Children fill in the blanks by answering the questions at the bottom of the sheet to reveal the Bible verse.
Member's ![]()
The Sunflower Parable
Logan wants to grow sunflowers that reach all the way to heaven by the end of the summer. With the help of his wise father, Logan learns how important it is to not only plant seeds in the ground, but to plant them in them in the hearts of his friends.
Read "The Sunflower Parable: Special 10th Anniversary Edition (Parable Series) " by Liz Curtis Higgse hearts of his friends and neighbors.
I love the Resource Room. It has brought me great joy teaching the kids and having such fun doing it with all the help from your site. Bev, Christ United Methodist Church
First Aid for the Soul
God Heals Us Bible Crafts and Activities
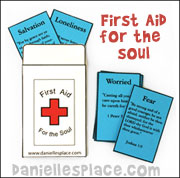
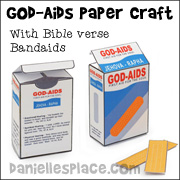
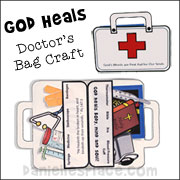
Go to the God Heals Us Bible Crafts and Activities Page for these crafts.
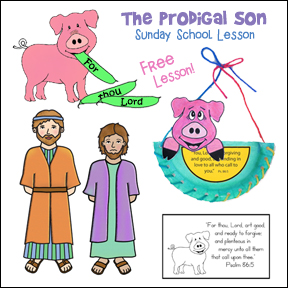
Fishers of Men Sunday School Lesson
Craft and Activity Ideas
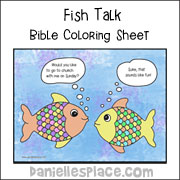
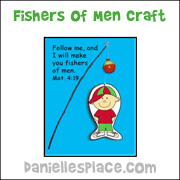
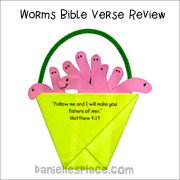
This lesson is also available as a Free sample Bible lesson.
Food - Bible Crafts
7-Eleven Candy Bible Verse Matchup Game
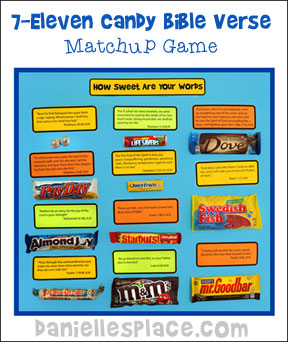
Children matchup Bible verse cards to popular candy that can be found at 7-Eleven for about $8.00.
After your children have matched up all the candy to the verses, you can make a "How Sweet are Your Words" poster with the candy wrappers.
For more information see the Printable Bible Verse Games Page.
©2014, Digital by Design, Inc. - *See Copyright Information
Printable Bible verses in both KJV and NIV are available to members.
Make Scratch and Sniff Pictures
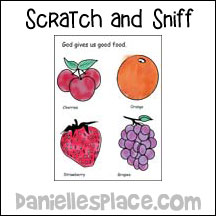
1. Add one or two tablespoons of water to a package of powdered Kool-aid.
2. Draw pictures of fruit on a piece of paper and write at the top “God gives us good food”.
3. Have the children paint with the appropriate Kool-aid mixture to make fruits that actually smell like the picture they are painting.
4. When the pictures are dry, show them how to scratch them with their fingernails to smell the fruit.
©2000, Digital by Design, Inc. - *See Copyright Information
Look at Food Pictures
Bring in Food Pictures, some healthy and some not so healthy (recipe cards work well for this). Hold up two pictures at a time, one healthy and one not so healthy. Ask the children which would be a better choice to eat for dinner. Explain that we don’t want to eat too many desserts because they are not very healthy and that we should eat them after we have eaten healthier foods.
Play with Fruity Putty
What you will need:
0.3 Ounce Package of Sugar Free Fruit Flavored Gelatin
2 Cups Flour
1 Cup Salt
4 Tablespoons Cream of Tartar
2 Cups Boiling Water
2 Tablespoons Cooking Oil
How to make:
Mix the dry ingredients in a pan. Add the boiling water and cooking oil. Stir
over medium-high heat until the mixture forms a ball. Place the ball on waxed paper to cool. Store in an airtight container. Cut the fruit picture from the gelatin box and paste to the lid. Use different flavors to make all different colors and smells.
©2000, Digital by Design, Inc. - *See Copyright Information
Soul Food Bible Lesson
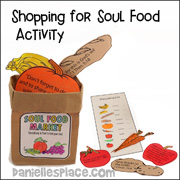

This lesson is available to members only on The Resource Room.
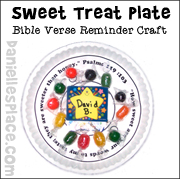
Taste and See that the Lord is Good - Recipe for Happiness
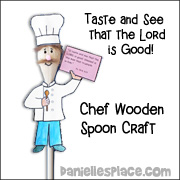
These crafts comes goes with the Bible lesson "Taste and See that the Lord is Good" on The Resource Room.
Taste and See - Bread of Life Bible Crafts
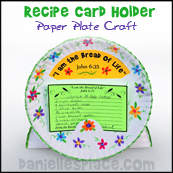
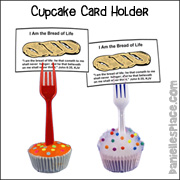
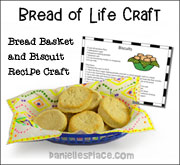
See "Bread of Life" Crafts Page.
Friends
Ladybug Friends

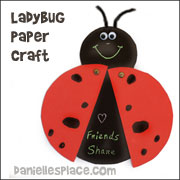
Free Sunday School Lesson for Children - For a complete lesson, activities and crafts go to the Resource Room Sample Lesson Page for "Ladybug Friends".
Friends Honor Each Other - Mary Honors Jesus