Bible Crafts and Activities for Kids - P
Parable Crafts and Activities
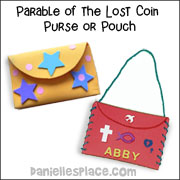
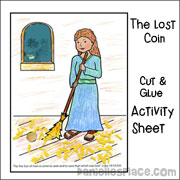
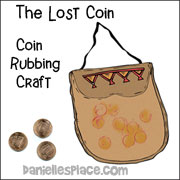
Parable of the Lost Coin Bible Crafts
The Parable of the Great Banquet Sunday School Crafts and Activities
Scripture Reference: Luke 14:12-24
This week I did a lesson on the Parable of the Great Banquet in my Sunday school class (ages up to 6). To set the mood for the lesson, I told the children that we were going to have a party and that I had invited several very special guests to attend (holding up their RSVP's to their invitations). However, due to the fact that I didn't have a chance to decorate for the party, I needed the children to help decorate the room. This really excited the children. I assigned each child something to do: Hang up balloons, hang up crepe paper, spread the tablecloth and put out plates, napkins, etc. During the whole time of decorating, I kept reminding the children that we really wanted the room to look nice for our special guests who had been invited.
After the children were satisfied with the decorations, we sat down to look at our RSVP's to see who all was coming to our party. To our dismay, just as in the parable, each and every person who had been invited to our party made an excuse not to come. The children were very disappointed, just like the banquet host in the parable, but when they found out that we were still going to have the party, it lifted their spirits. I served miniature cupcakes, chips and juice boxes, and while the children ate I spoke to them about the true meaning of the parable.
For our craft, we made goody bags to carry home our party prizes. I printed a pretty border with ribbons and bows on one side of a sheet of card stock. We folded the paper in half, cut out a handle at the top for carrying and stapled it on the bottom and the open side. The kids really understood the meaning of the parable and enjoyed all the prizes that they carried home. Sent by Theresa Bostick
©2009, Digital by Design, Inc. -* See Copyright Information
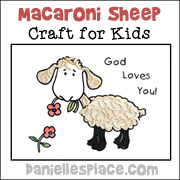
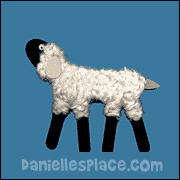
The Parable of the Lost Sheep Sunday School Lesson
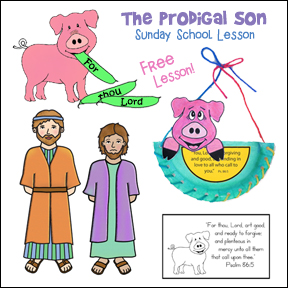
Parable of the Prodigal Son Sunday School Lesson
Free Preschool Sunday School Lesson - The Big Mistake
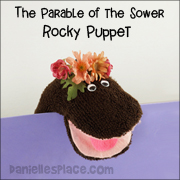
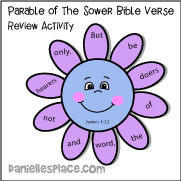
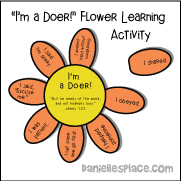
The Parable of the Sower
See Parable of the Sower Bible Crafts
The Parable of the Sheep and Goats
"Are You a Sheep or Goat? Sunday school lesson. Go to the Bible Themes G -Bible Crafts and Activities for Children Page under Giving.
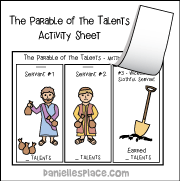
The Parable to the Talents

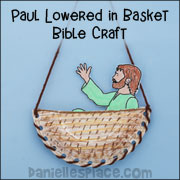
Paul
See Apostle Paul Bible Crafts and Learning Activities Page
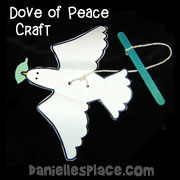
Peace
Dove Peace Sunday School Craft
See Noah - God Keeps His Promises
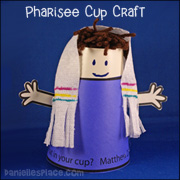
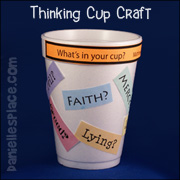
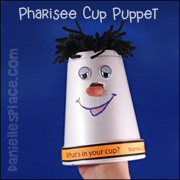
Pharisees Crafts and Games
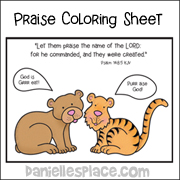
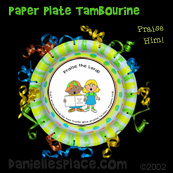
Praise
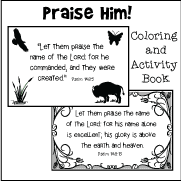
Praise Sunday School Crafts and Activities
See Bible Themes Praise the Lord
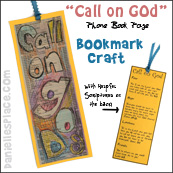
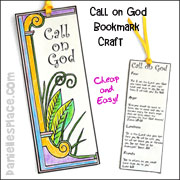
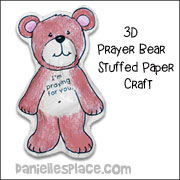
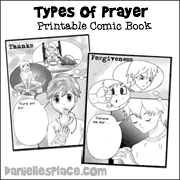
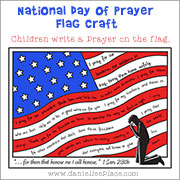
Prayer
Bible Crafts and Activities about Prayer
See the Prayer Bible Crafts and Activities Page

Psalm 23 - Bible Lessons for Children
Each verse of the Twenty-third Psalm is broken down into one lesson. Each lesson contains crafts and activities that reinforce the Bible verse.
Psalm 23:1 - "I Shall Not Want" Sheep Picture
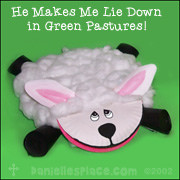
Psalm 23:2 - "He Makes Me Lie Down in Green Pastures"
Psalm 23:3 - "He Leads Me" Sunday Day School Lesson
Psalm 23:4 - "I Will Fear No Evil" Bible Lesson for Kids
Psalm 23:5 - "I am Special" Bible Lesson
Psalm 23:6 - "Goodness and Mercy" Lesson

Purpose - God's Purpose for Our Lives
Purpose/Potential Object Lesson for Sunday School
Purpose of Lesson: To focus on our potential in Christ. We will never reach our fullness apart from Christ
Life is Like a Cupcake - This object lesson can be done for any age group or an entire church. I like church picnics or covered dish meals and this is a wonderful lesson that the entire group can join in and have desert too. Sue Karber
Take a paper cupcake liner and tell everyone that this represents our body. It is the shell that holds the real "us" together in body form. Now put in some cake batter and say, "This is God's potential put in each one of us. Some of us have more than others, but we all have potential. God knew us before the world was even formed and also in our mother's womb. He gave us the potential we need to fulfill His Good Works. Potential is not what we are, but what we are capable of becoming. Potential has to be developed. Left to ourselves we will either become half baked, burn up in the process and self-destruct, or never develop at all.
Accepting Jesus as our LORD and Savior will develop our potential. Jesus will keep us growing and developing by withstanding the HEAT of the world and maturing in Christ.
I make sure every child hears the plan of salvation and that salvation brings forgiveness of sin. We are born again through Christ. The Holy Spirit now guides our development which leads to the frosting on the cupcake. . .
The frosting is studying God's word, praise, and worship. This leads to our development of service which we can't help but do. We are frosting and others see the beauty and love of Jesus and want to have what we have and we just have to share. This area is so much fun because each child or person needs to see that the wrinkles of the frosting are different on each cupcake. Some of us are teachers, some have the gift of mercy etc. And even with in our gifts and service areas we are special and unique and God does not compare us with others.
Then the sprinkles; the jewels in our crowns in heaven. The kids go wild here. They see where their uniqueness and ministry is needed and useful at even the 1st grade level. They see their purpose in the body of Christ. This is even true of adults. I use different scriptures according to lesson plans for that week.
Frosting
brings the fruits and the fullness of Christ into our lives and even
a child has purpose and a mission. Sprinkles the rewards, now
and later
Thanks for sharing this with us, Sue
©2007, Digital by Design, Inc. -* See Copyright Information