New Year Crafts and Learning Activities for Children
New Years Crafts for Home School and Children's Ministry
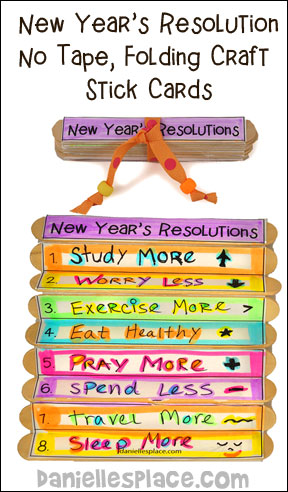
New Year's Resolution No-Tape, Folding Craft Stick Reminder
What you will need:
Scissors
Cardstock Paper - 90 lb. or Printer Paper
Marvy Fluorescent Color Fabric Markers or Highlighter Markers
Ribbon or Yarn
Pony Beads (Optional)
Kids will have a blast crafting these delightful fan-folding canvases for their New Year's resolutions! By simply gluing the New Year's Resolution pattern onto a row of mini jumbo craft sticks, they create a unique canvas. They can then cut alternating lines to let the craft sticks fold into a fun stack. Plus, adding a colorful string or ribbon will make their creation perfect for hanging! It's not just a craft; it's a creative way for children to express their hopes and dreams for the new year.
Member's ![]()
Instant Digital Download 
Watch a Video on How to Make the No-tape, Folding Craft Stick Cards:
©2012, Digital by Design, Inc. - See Copyright Information - Bloggers, if you use this craft idea or an adaptation, you must link back to this page for complete directions. If you use this technique, let us know and we will put a link to your blog.
Turning Over a New Leaf New Year's Resolution Printable Activities
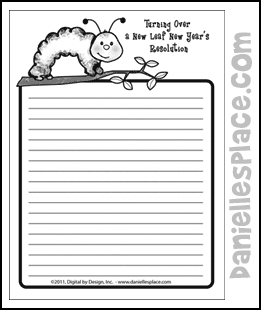
Encourage your children to explore the meaning of idioms this new year with this charming little inchworm activity! Start by explaining that an idiom is a phrase or expression that conveys a meaning different from the literal interpretation of the words. Ask them if they have heard the expression "I'm turning over a new leaf," and see if they can guess its meaning.
Explain that if we take the expression literally, we might visualize someone picking a leaf from a tree and flipping it over, but that's not what it means. In the past, the pages of books were often referred to as leaves, and some were even written on actual leaves, like palm leaves. When someone says they are "turning over a new leaf," they are essentially saying they are "turning a new page" or starting fresh. It signifies a commitment to change: moving away from past behaviors and deciding to do something different or better, as if writing a new chapter in their life story.
"I'm Turning Over a New Leaf" Printable New Years Booklet
What you will need:
Green Printer Paper
Scissors
Stapler
How to make:
1. Cut out three large leaf shapes from green computer paper. Write I'm Turning Over a New Leaf!" on one leaf with the date. Draw lines on the other two leaves and label one "Old Leaf" and the other "New Leaf". (Printable patterns for this activity as pictured above is available to members. The leaf patterns are available in wide lines for younger children and closer lines for older children on The Resource Room and as an instant digital download.)
Member's ![]()
Instant Digital Download  - Including the Inchworm Writing Sheet in both color and black & white patterns.
2. Staple the pages together to make a book.
3. Have your children think about what they would like to change in their life story, maybe something that they keep doing over and over that they know isn't good for them, maybe a bad habit, or something that bothers others, or something that keeps them from achieving their goals. Then have them write on the "Old Leaf" page of their book what they do that could cause a problem for them or others. And then on the"New Leaf" have them page write what they will do instead to change their life story or "turn over a new leaf".
© 2010, Digital by Design, Inc. - See Copyright Information
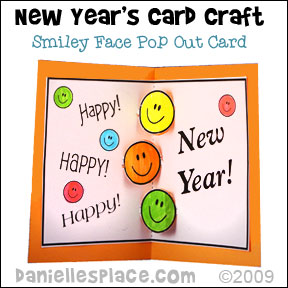
Happy New Year's Pop Out Card Craft for Kids
Make this New Year’s celebration truly memorable by incorporating some delightful happy face pop-up cards! Equip the children at your New Year's party with colored and white paper, scissors, glue, and highlighter markers, and watch their creativity come to life. These easy-to-create printable cards will not only entertain them but also add a personal touch to your festivities. This year, let their imaginations shine and bring an extra dose of joy to your celebration!
What you will need:
Card Stock
Hi-Liter Markers
Paper Glue
Scissors
How to Make a New Year's Pop Out Card:
1. Print out the pattern onto card stock. Cut around the edges of the card and fold it in half and unfold.
Member's ![]()
2. Color the smiley faces and then cut them out using an Exacto knife (Adults only). Cut around the outside of the smiley faces in the middle of the card leaving them connected between the tiny separating lines.
3. Fold the card in half again while pushing in on the smiley faces from the outside folded edge of the card. This will make the smiley faces pop out inside the card. Flatten out the folded card.
4. Glue the card to another piece of colorful card stock but do not glue where the smiley faces are.
5. To finish decorate the outside of the card with smiley face stickers or anything else you would like to use.
© 2009, Digital by Design, Inc. - See Copyright Information
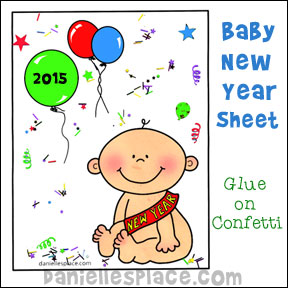
New Year Baby Confetti Card Craft
Celebrate the new year with this adorable New Year’s baby activity page. Children will love gluing New Year-themed confetti to the picture to create a sheet that conveys the excitement of a new year. All you need to complete this activity are markers, crayons, paper, and New Year-themed confetti. Not only does this craft encourage creativity and fine motor skills, but it also provides a fun opportunity for children to discuss their hopes and resolutions for the coming year.
Display the finished pages on a classroom wall or at home to help everyone share in the festive spirit and look forward to new beginnings together.
What you will need:
Card Stock (Heavy Paper)
Crayons
Colored Pencils or Markers
Clear Drying Glue
Confetti - You can buy confetti at party shops for less than $2.00
How to make:
1. Print out the picture onto card stock.
Member's ![]()
2. Have your students color the picture and write the current date on the balloon.
3. Spread a clear drying glue in the areas you want confetti. Sprinkle confetti over the glue. Place the bigger pieces of confetti to make it looked spread out evenly over the picture. Put more on the bottom of the picture so that it looks like it has fallen to the floor.
© 2005, Digital by Design, Inc. - See Copyright Information
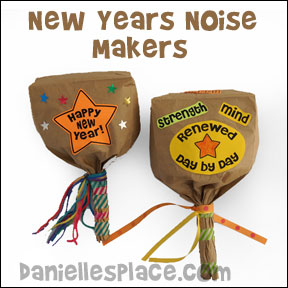
New Years Noise Maker Craft for Kids
Children of all ages will love making these paper bag noise makers. They are super easy and cost only pennies to make. Warning - they are very loud.
What you will need:
Paper Lunch Bags or Colored Paper Lunch Bags
Circle Reinforcement Labels or Star Stickers (You can white labels and color them with highlighter markers instead.)
Ribbon
Unpopped Popcorn, Dried Beans, Small Pebbles, Rice, or Anything You Have to Place in the Bags
Colored Pencils, Crayons, Markers, or Paint
How to Make the Paper Bag Noise Makers:
1. Decorate the bottom third of a paper lunch bag with markers, crayons, paint, or colored pencils, and add decorative tape or stickers.
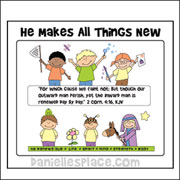
Patterns for this craft are available to members on the Bible Lesson - "All Things New" on The Resource Room.
Member's ![]()
2. Unfold the decorated paper bag and place another paper bag inside the decorated paper bag to give the noise makers strength.
3. Place a tablespoon of rice, popcorn, or anything else you would like to use in the inside bag. (Try different things in each bag and compare the sounds the bags make.)
4. To finish, gather up the sides of the paper bags smoothing them out as you crinkle them up. Spread out the tops of the bags and blow into them to puff out the bottom of the bags. When you have a good shape twist the bottom of the bags to make the handle of the noise makers. Use colorful tape such as duct tape or washi tape to decorate the handle and to keep it from unwinding.
© 2014, Digital by Design, Inc. - See Copyright Information
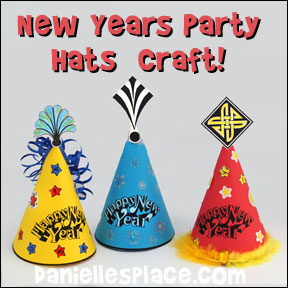
New Year Party Hats
These hats can be used as a craft at your New Years Party or you can print the pattern out smaller and use them on your table as place setting. Just print the name of each person who attends your party on the back of the hat.
What you will need:
Bright Colors of Card Stock
New Years Confetti
Glue or Tape
Glitter Paints
Feathers
Colored Pencils
Scissors
Stickers
How to Make New Year's Party Hats:
1. Print out the hat patterns and the hat toppers and cut them out.
Member's ![]()
Free Digital Download ![]()
2. Roll the hats into cone shapes, and glue the hat toppers to the hats.
3. Glue the hats together and then glue on sequins or use glitter paint to decorate them.
© 2003, Digital by Design, Inc. - See Copyright Information
Free New Year Piñata Craft For a New Year's Party

What you will need:
Large Brown Grocery Bag
Silver or Gold Spray Paint
Gold and Silver Ribbon
String
Tape, Glue and Stapler
Things to Put in the Piñata
How to make a New Year's Piñata:
1. Paint or spray paint a large grocery bag with gold or silver paint. Let it dry.
2. Print out the Happy New Year! pattern, cut it out, and color it.
Member's ![]()
Free Digital Download ![]()
3. Glue the pattern onto the front of the bag.
4. Tape gold and silver ribbon to the bottom of the bag so that it hangs down.
5. Fill the bag with goodies.
6. Tie the top of the bag closed. Punch a hole in the top and tie a string to the bag through the hole so that the piñata can be hung up.
© 2003, Digital by Design, Inc. - See Copyright Information
Also See Bible New Years Crafts