Tissue Paper Crafts and Learning Activities for Kids
How to Make Crafts Using Tissue Paper
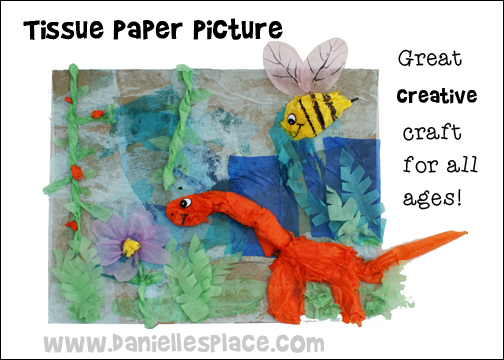
Tissue Paper Pictures
What you will need:
Assorted Rainbow Color Tissue Paper
Scissors
White Glue
White Cardboard or Card Stock
Markers or Water Color Paints
Other Decorative Items
How to Make Tissue Paper Pictures:
1. Decide on a subject for your picture. Think of something that has depth. Decide which parts of your picture should be flat and which parts should stick out from the background.
2. Draw your picture on a piece of white card stock or cardboard.
3. Start with the flat background first. Tear tissue paper in strips or other shapes so that they fit on your picture. They don't have to be exact. You can trim the edges of your picture when you are done.
4. Place glue in the area you want to add the tissue paper and then stick the tissue paper on top of the glue. You can move it around to make wrinkles. Overlap the shapes to make shadows and new colors. Use a variety of different colors to make the picture interesting.
5. You can paint white glue on top of the tissue paper to make parts of the picture shiny.
6. Once you have the background done you can start adding depth to your picture by using more tissue paper. Crinkle up bigger pieces of paper and glue them to the picture. Use your fingers to form the shapes by scrunching up the tissue.
7. Add details that are not completely stuck to the picture such as leaves, flowers, grass, etc. Cut out the shapes of the petals and leaves from the tissue paper using scissors and them glue them to the background just at the ends. To make grass cut small strips of paper and glue them all together.
8. You can also add buttons, small stones, sand, and other decorative items to make your picture more interesting.
9. When the glue is dry you can also add details with a marker or water color paint.
©2014, Digital by Design, Inc. - See Copyright Information
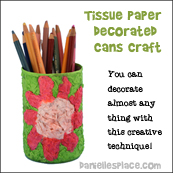
Tissue Paper Decorated Pencil Holder

What you will need:
Clean, Dry Aluminum Can
Assorted Rainbow Color Tissue Paper
Stiff Paint Brushes
White Glue
How to Make the Pencil Holder:
1. Place about two tablespoons of glue in a disposable container and add a few drops of water to make the glue slightly runny.
2. Decide on a design you would like. You may want to draw it on the can with a permanent marker so you have a guideline.
3. Rip the tissue paper you will be using into small pieces.
4. Paint some glue onto the can where you would like the tissue to stick and then pick up a piece of tissue with your paint brush and stick it to the can. Add more glue to the piece if it is not completely wet. Use your paint brush to scrunch up the tissue paper into the design. Keep adding more paper until the entire can is covered.
©2014, Digital by Design, Inc. - See Copyright Information
Tissue Paper Craft Kits


