Easter Crafts for Sunday School
How to Make Easter Crafts, Easter Bible Games and Easter Bible Lesson for Chidlren
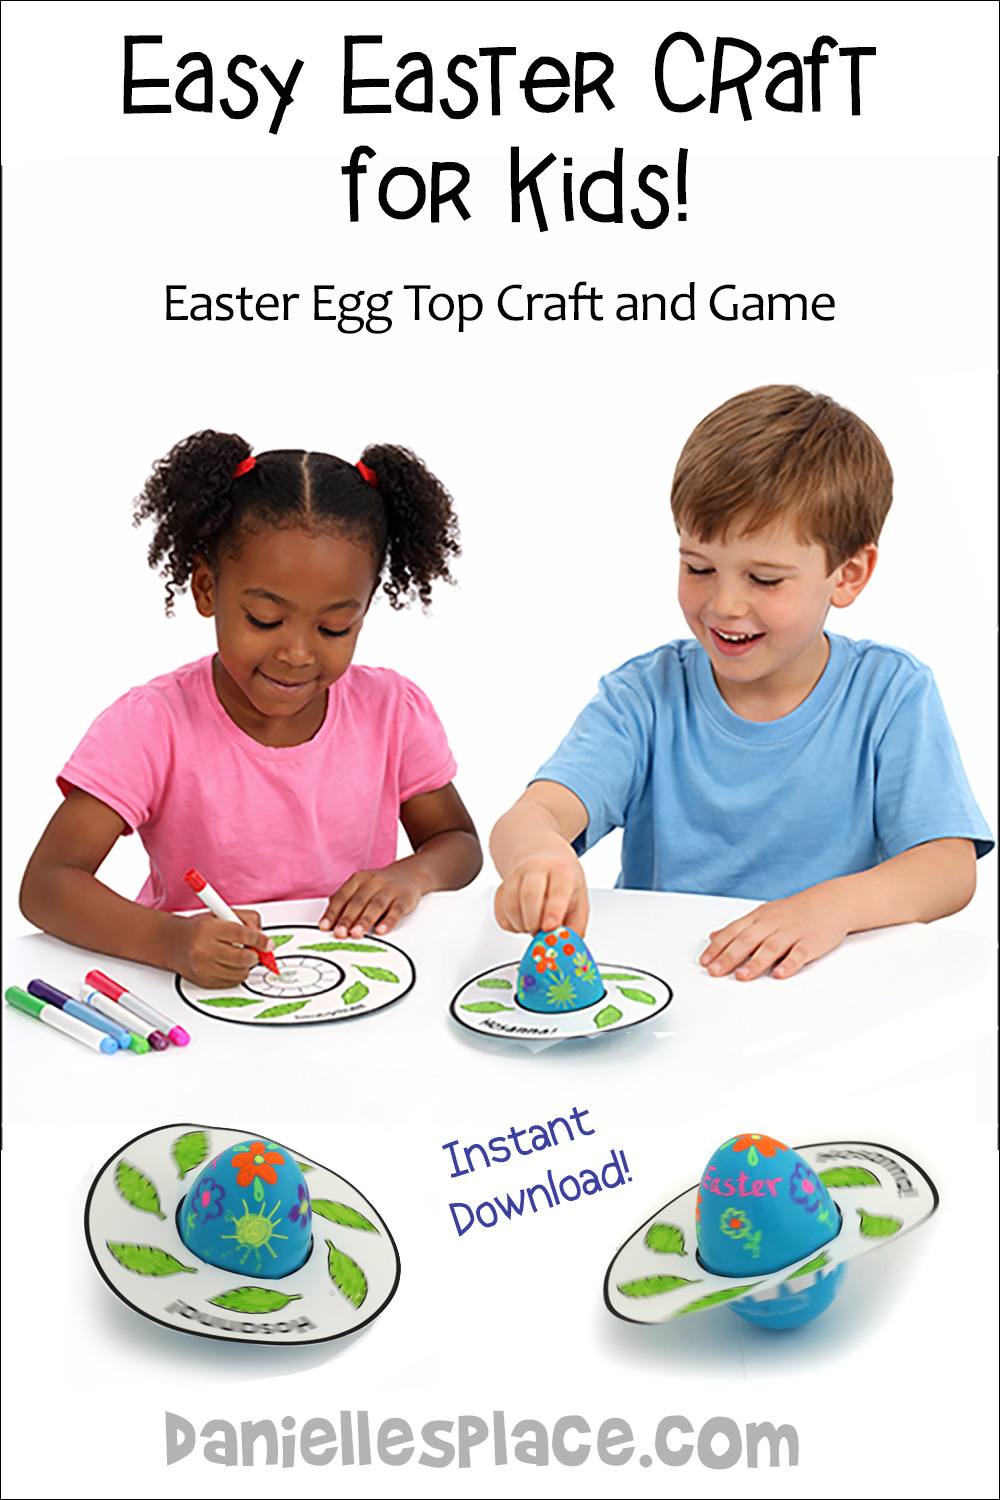
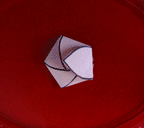
Easter Egg Top - Craft and Game for Sunday School
Are you looking for a cheap and creative craft for Easter craft for children of all ages? This is the perfect craft for you. Children use recycled plastic Easter eggs to make these fun Easter egg tops for just pennies. Use the printable Easter palm branch patterns provided or have children create their own unique designs.
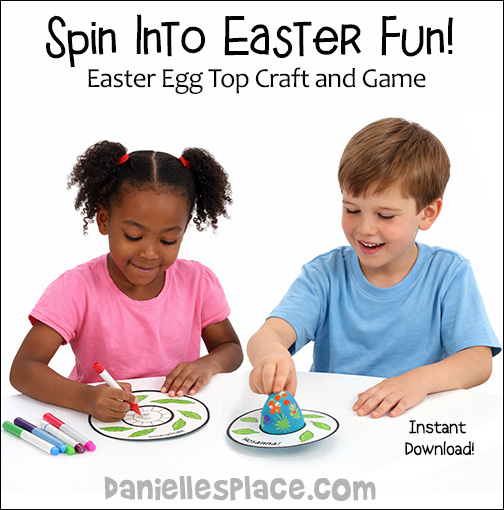
What you will need for this project - Large Plastic Easter Eggs, Liquid Chalk Markers, Small Cross Stickers, or Religious Stickers, Paper, Colored Pencils, Scissors, and Clear Tape
How to Make the Easter Egg Tops:
1. Before class print out the patterns onto heavy paper.
Member's 
Instant Download Pattern - 
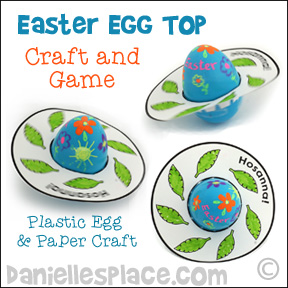
2. You can easily make your own patterns for the top if you don't want to purchase the pattern. Take the egg apart and place one half in the center of a piece of paper so that the open end is on the paper. Trace the egg to make a circle.

3. Find the center of the circle and use a math compass to draw another circle that is 5 1/4" in diameter around the first circle.
4. Draw another smaller circle inside the egg circle.
5. Cut out the large circle and the inside circle. Cut little slits all the way around the inside of the circle and fold down the tabs.
6. Color the paper circle with colored pencils. Use the chalk markers to decorate the eggs. The chalk markers will wipe off with use or water but they do make beautiful decorations on the eggs.
7. Slip the paper onto the egg and tape down.
These tops can also be used foreducational games. See the Math Games Page for directions on how to make an addition game by writing numbers on the paper pattern.
©2015, Digital by Design, Inc. - *See Copyright Information
"For God So Loved the World" Heart Cross Craft for Easter
Children will love adding their own creative accents to this Easter cross and hearts coloring sheet. They can use water color paint, markers, or colored pencils to make their own designs. The coloring sheet says, "For God so Loved the World". They might also want to add the rest of the verse.
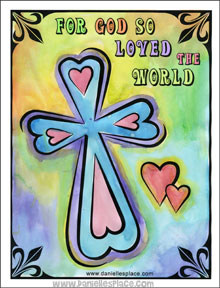
What you will need:
Paper (Card Stock if You Are Using Water Color Paint)
Crayons, Markers, or Water Color Paint
Paint Brushes (Optional)
1. Before class print out the picture. If you are using water color, print out the picture onto card stock (thick paper).
Member's
Instant Digital Download -
2. In class have your children color or paint the picture. As they work talk to them about what the Bible has to say about love.
©2013, Digital by Design, Inc. - *See Copyright Information
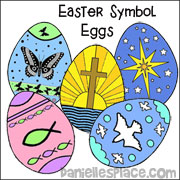
Easter Story Eggs for Sunday School
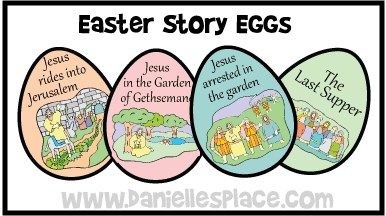
Use these Easter story eggs to review your Easter Bible lesson. Print an extra copy to play a match game, ordering game (See who can put them in order the quickest.), or have an Easter Egg hunt. When a child finds one of the eggs he can place it at the front of the room in the order of the story.
The following activities and crafts go along with The Easter Story Bible Lesson on The Resource Room.
Member's
Small Eggs -Colored Printable Patterns Only -
Large Eggs - Colored Printable Patterns Only -
Large Eggs - Black and White Pattern for Coloring -
Pictures include:
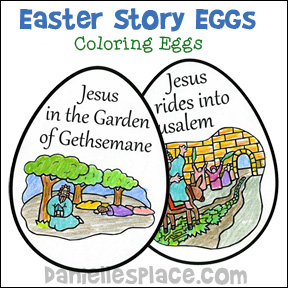
1. Jesus rides into Jerusalem
2. The Last Supper
3. Jesus praying in the Garden of Gethsemane
4. Jesus arrested in the Garden
5. Jesus stands before Pilate
6. Jesus carrying his cross
7. Jesus is crucified
8. Mary at the tomb
9. Thomas denies Christ.
10. Jesus ascends
Now Available in larger sizes for bulletin board displays!
How to Use the Story Eggs:
1. Ordering Game - Each teams gets a set of ten cards. Place them in a bag, and have them shake the bag and dump out the contents. The first team to put the cards in order and shout “Alleluia” wins. Sent in by Marianne
2. Easter Egg Hunt - Hide the eggs around your room. If a child finds a card, he brings it to the front of the room and places with all the other cards in the correct order.
3. Easter Egg Relay - Divide your children up into teams of ten or less. Each team gets a set of egg cards, and each player gets at least one card. The first child in each time walks with an egg on his shoe up to the front of the room where he places the egg in order and then runs back to the start line where he tags the next child in line who then races to get his egg in order. If the egg falls off of a child's shoe, the child must stop and place it back on his shoe before moving again. The team that gets all it's cards order first wins.
4. Play a Concentration Game - Make two sets of cards and lay them on a table face down. Have your children take turns picking up two cards they think might match. If they cards match, they get to keep the cards and tell you what part of the story they represent. Keep playing until all the cards are gone. They player with the most cards wins.
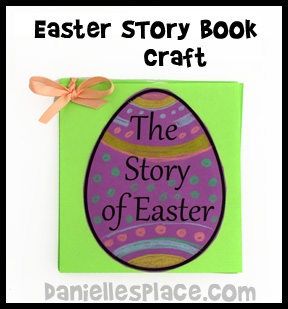
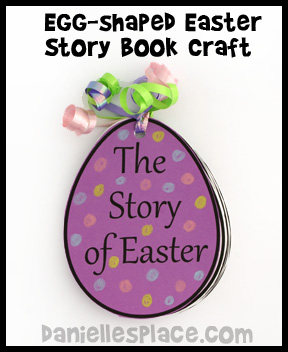
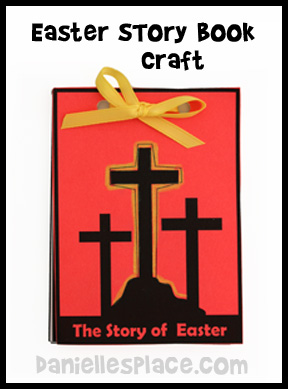
5. Make an Egg-shaped Book - Print out a set of cards for each child and cut them out. Have your children place the card in order and then punch a hole in the tops of the eggs. Time them together with a pretty ribbon.
Instant Download -
Small Black and White
Pattern Only
Instant Download -
Small Black and White
Pattern Only
6. Story Review - Place the egg story cards on a table in front of the children. Tell your children that as you review the events of the story to raise their hands if they think they know what card might represent that event. Once you have talked about one event ask a child to point to the egg that he thinks might represent that part of the story. If he is correct have him pick up the egg and place it in a row in the order of the events.
We would love to hear how you use the Easter Story Eggs. Send us your ideas and we will publish them here for others to use.
7. Bulletin Board Display - I have just completed a Bulletin board display for our Children's Corner which I have called EASTER IS FOR REMEMBERING. I used a large stained glass window featuring the cross for the central section and used the Easter story eggs - 5 on each side to complete the picture. It looks most effective and I am sure the children will enjoy it as much as the adults who have already had a chance to see it. A smaller display board emphasizes the Last Supper and Communion - also using the egg shape theme. It will be a reminder of their Sunday School lessons during the time it is up as they always enjoy discussing each new display. Stella
8. Egg Mobile - I have also printed out another set of the Easter story eggs for a friend to laminate. These will become a mobile which can be easily stored and used again each year. Stella
©2011, Digital by Design, Inc. - *See Copyright Information
This was an incredibly effective craft! My 2 to 5 year olds practically danced around the room, retelling the story, and every child could successfully retell his or her parent the lesson! - Jodie Wills-Jordan (Pinterest)
Jesus Ascends Activity Sheet
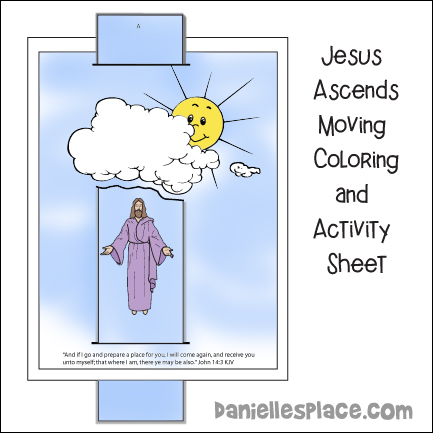
Bring your Bible lesson about Jesus' ascension to life with this captivating craft! Children will love coloring the sky and Jesus' image, then placing it into the background scene. As they pull the paper strip, they'll be thrilled to see Jesus ascend into the clouds, creating a memorable experience that reinforces the lesson. The powerful Bible verse featured at the bottom, "And if I go and prepare a place for you, I will come again, and receive you unto myself; that where I am, there ye may be also." - John 14:3 (KJV), will inspire them further. Don't miss out on the printable patterns for this engaging activity, available in the Sunday School lesson "Jesus Ascends" in The Resource Room. This is a wonderful opportunity for children to connect with the story in a fun and interactive way!
Member's ![]()
Instant DigitalDownload - KJV and NIV
©2007, Digital by Design, Inc. - *See Copyright Information
Easter Windsock Easter Craft

Updated! Now available in three different patterns!
Kids absolutely adore crafting this delightful Easter project! It's not only affordable but also incredibly easy to set up, requiring just one piece of cardstock and some vibrant crepe paper streamers. Imagine the joy as they color in the cheerful Easter design and add their personal touch by taping on the colorful streamers. Encourage them to take this joyful creation home and proudly display it outside for everyone to admire. It's a wonderful way for them to spread Easter cheer! They look beautiful blowing in the wind. If you live in a rainy climate, you can laminate the paper and use plastic streamers instead.
Supplies Needed:Card Stock (Heavy Paper), Crepe Paper Streamers in Different Colors, Hole Punch, Yarn or String, Tape, Highlighter Markers and/or Water Color Paint (We Used Both on This Craft)
How to Make the Easter Wind Sock Craft:
1. Turn your paper so that it is in the landscape view or longways. Draw an Easter picture on a piece of card stock or use the pattern.
Member's
Instant Digital Download -
2. Tape or glue streamers to the bottom of the picture.
3. Curl the picture into a tube shape and staple it closed.
©2007, Digital by Design, Inc. - *See Copyright Information
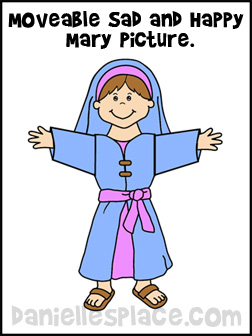
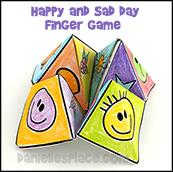
The Sad and Happy Day Bible Lesson, Crafts, and Activities

©2007, Digital by Design, Inc. - *See Copyright Information

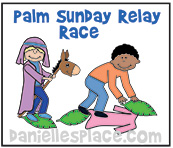
Palm Sunday and Easter Bible Lessons
Palm Sunday Lessons, Crafts and Activities
See Palm Sunday Crafts and Activities


I just want to let you know how helpful Danielle's Place and the Resource Room have been for me. I have the craft center for our 3 year-kindergartners. I have no children and some times am not too imaginative. Your website has been a life saver. I've used many of your ideas and patterns from Easter to Christmas to our summer program. . . . You have so much to offer, that I end up spending hours reading and making copies for future lessons. Thanks again. Ann Keeler
Easter Crafts on Other Pages

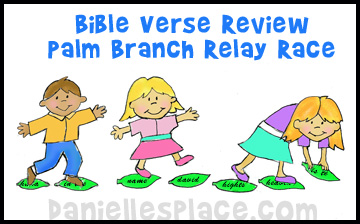
Easter and Palm Sunday Games and Activities
15+ Easter Bible Games For Children's Ministry
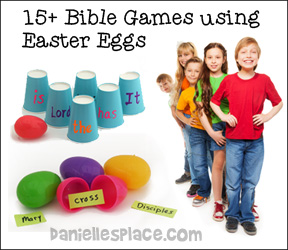
All the games are easy to prepare, and use only plastic Easter eggs and other easy-to-find supplies such as markers and paper.
The games can be adapted to any Bible lesson, and are used to review the Bible lesson and help memorize the Bible verse.
Children of all ages will love these games! Go to the Easter Game Page to view them.
Easter Crafts on Other Pages
'